

how to draw a middle finger
The key to drawing a human graphic symbol is to learn how to depict its physical features ane by i first. Now, nosotros volition be learning how to draw a paw with five fingers.
Our paw is what nosotros apply to hold things and get things washed, and then it is a very of import office of the human'southward trunk.
We accept curated a step-by-step tutorial on how to describe a paw, summarized in 9 easy and simple steps.
What'south more, we have created illustrations to back-trail each instruction, making the procedure a lot easier for you to follow.
Have fun and use your artistic skills to describe a realistic-looking hand!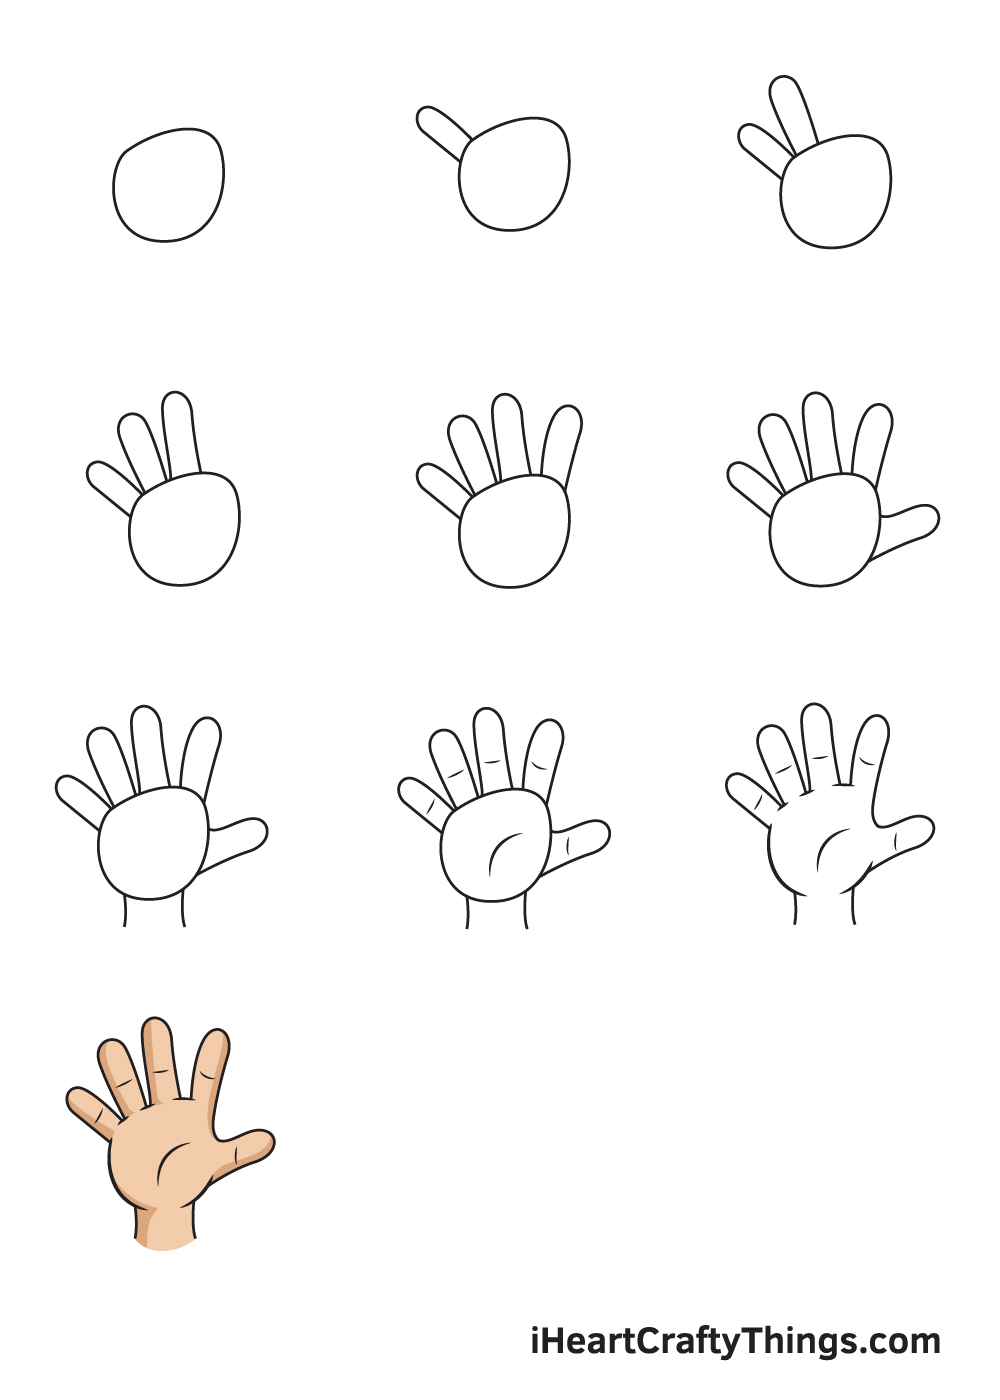
What's in this Weblog Post
- How to Draw a Hand — Allow's get started!
- Step 1
- Step 2 — Draw the Lilliputian Finger
- Step iii — Adjacent, Draw the Ring Finger
- Step 4 — And so, Depict the Center Finger
- Step five — Now, Depict the Alphabetize Finger
- Step six — Later, Draw the Thumb
- Pace 7 — Draw the Wrist of the Hand
- Footstep 8 — Add Lines on the Palm and the Fingers
- Step 9 — Now, Refine the Hand Drawing
- Your Paw Cartoon is Complete!
How to Draw a Hand — Let'south get started!
Step ane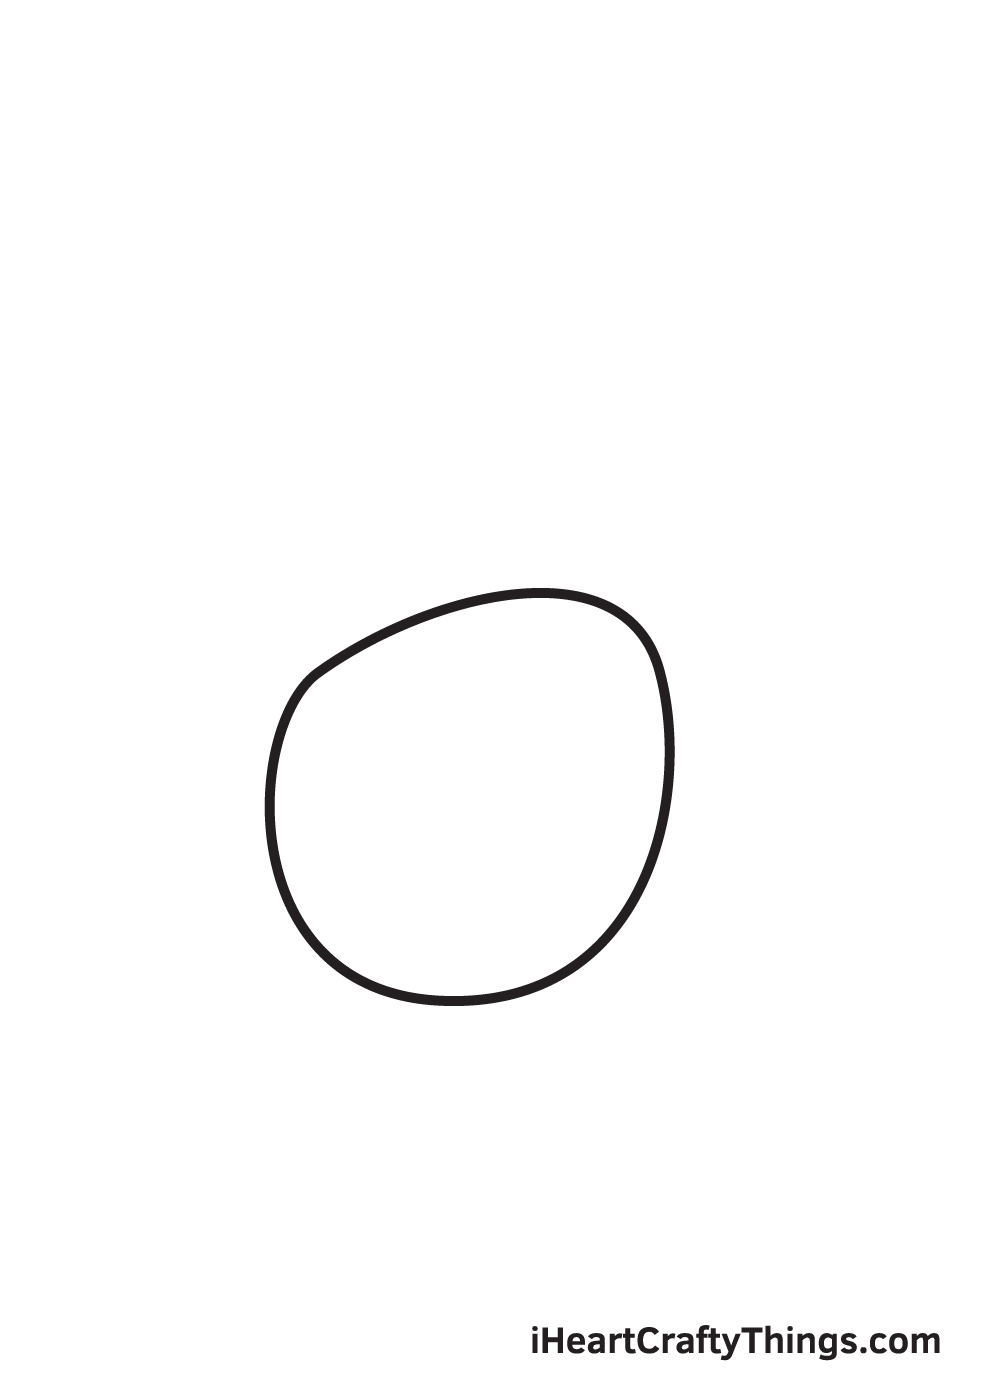
Start by drawing an uneven circle shape on the bottom portion of your paper. The top function of the figure should exist slightly diagonal while the bottom part is rounded. This outlines the shape of the palm.
Call back, draw with a gentle grip and light stroke when drawing the shape of the palm.
Since this is only an outline, avoid pressing downwardly as well difficult with your pencil so we can easily remove some parts of the outline that we no longer need later on.
Pace 2 — Draw the Little Finger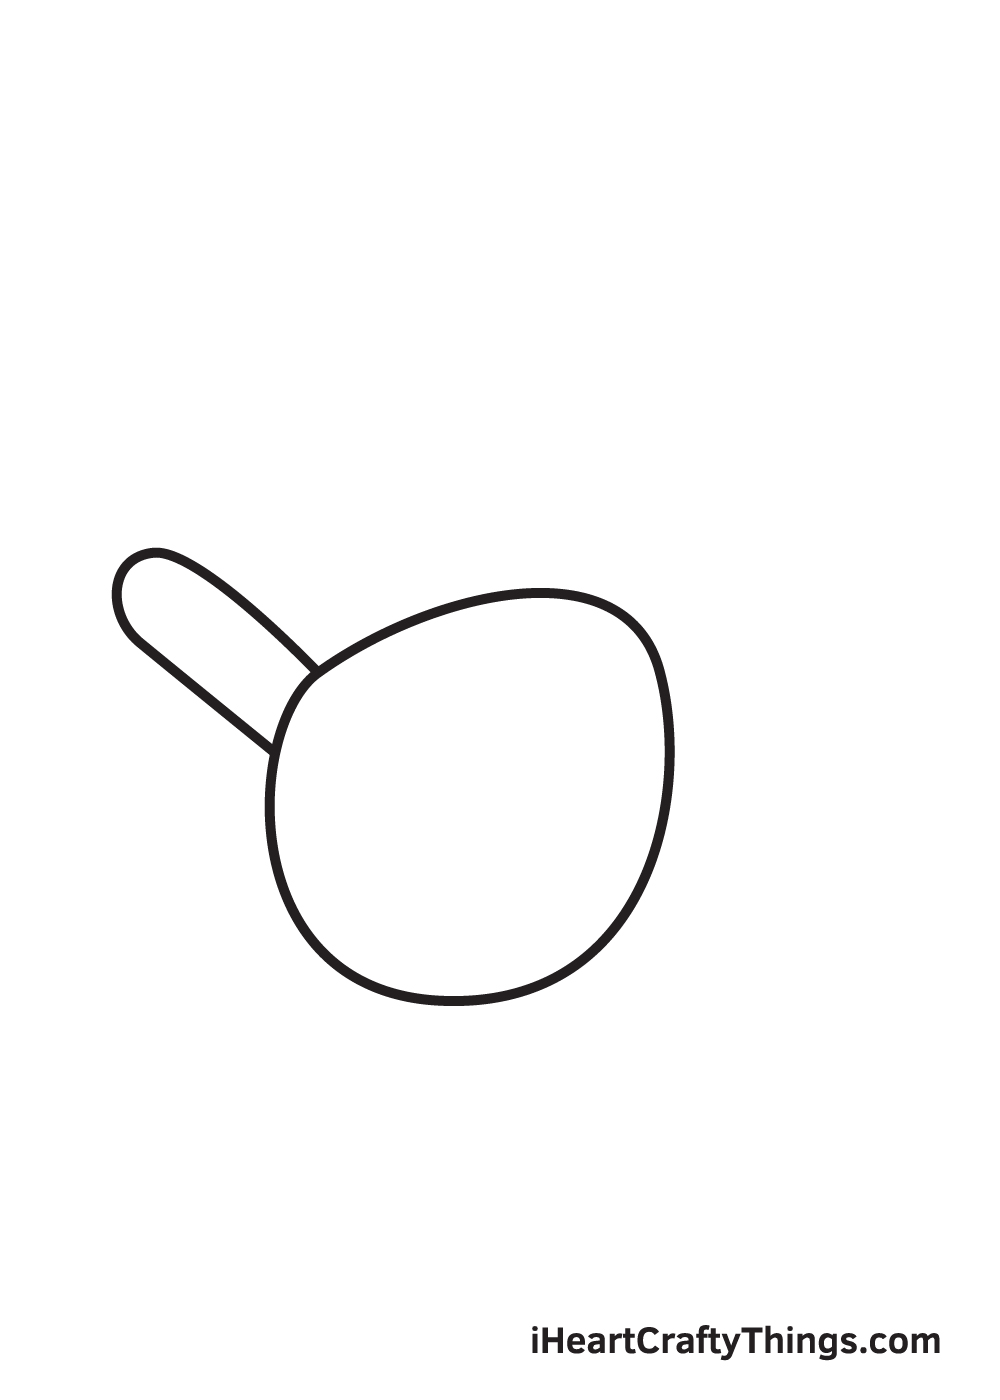
Draw an elongated inverted U-shaped line on the upper leftmost side of the palm.
This forms the little finger—the smallest finger—directly continued to the palm.
Step iii — Next, Draw the Ring Finger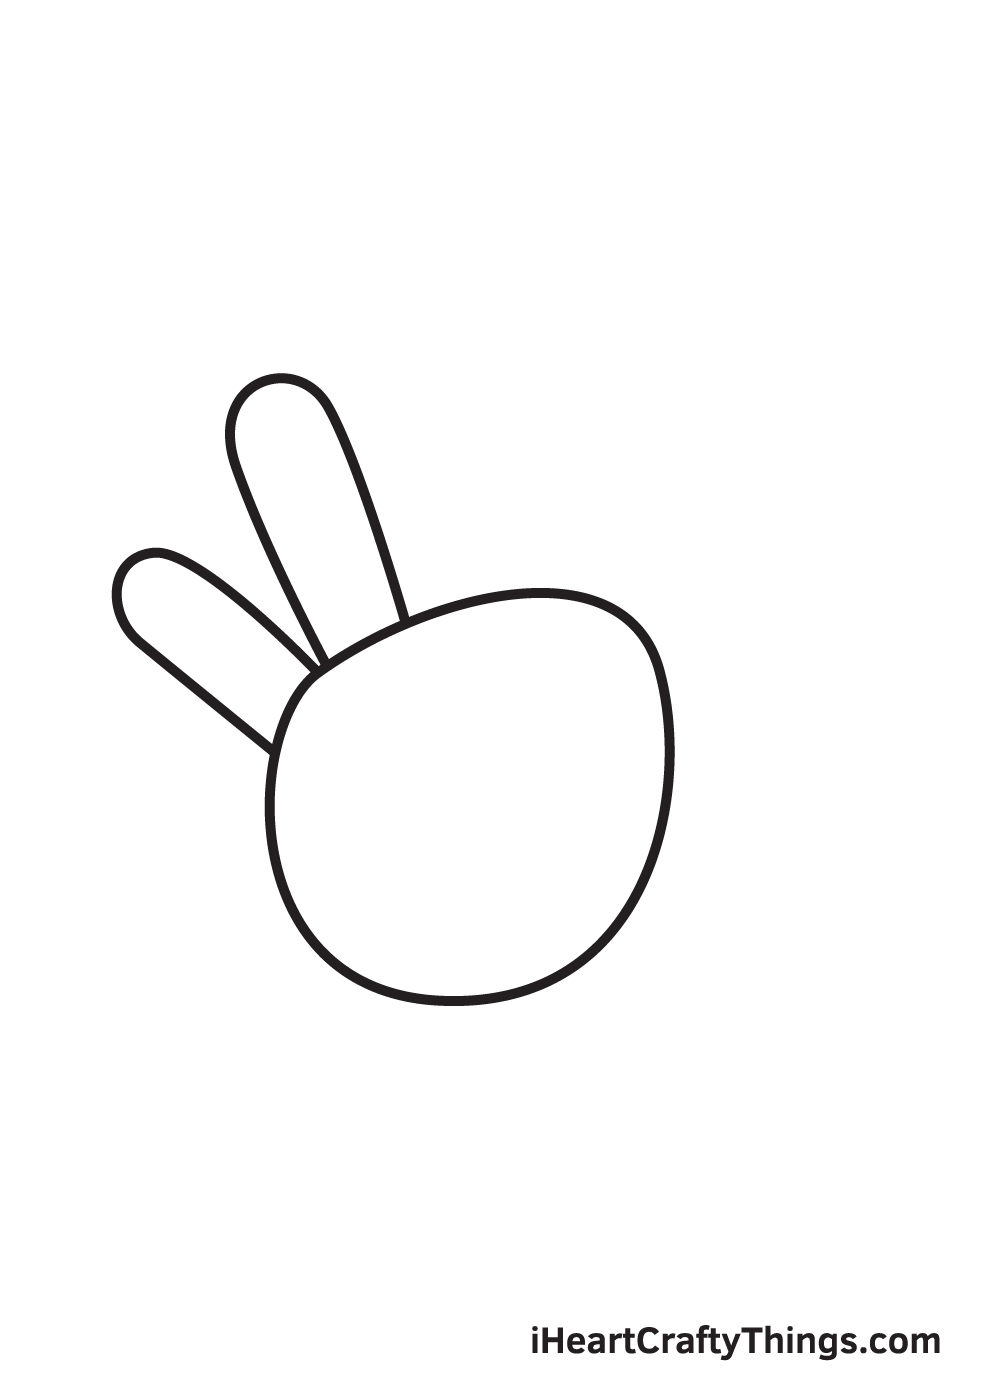
Describe another inverted U-shaped line on the correct side of the start one we drew in the previous pace. This forms the ring finger correct beside the fiddling finger.
Continue in mind that the ring finger should be relatively taller than the little finger.
Step 4 — Then, Draw the Middle Finger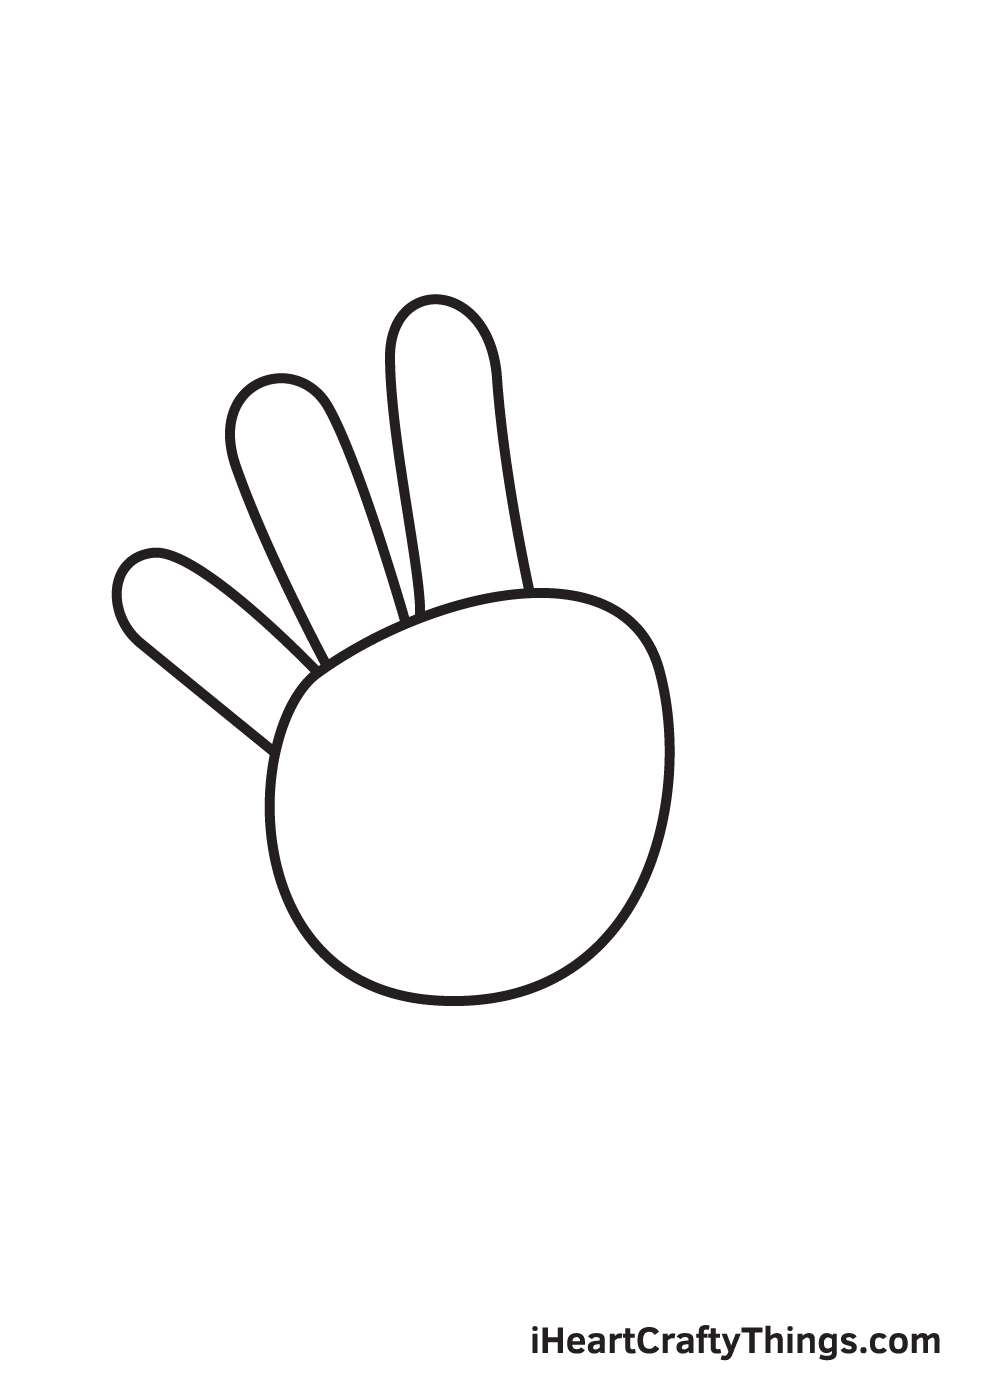
To create the middle finger, depict an upside down U-shaped curve right abreast the band finger.
Call up, the middle finger is the tallest of all five fingers. So, make sure to go along that in listen when drawing the fingers.
After finishing this step, the palm should now take iii fingers attached to it.
Stride 5 — At present, Draw the Index Finger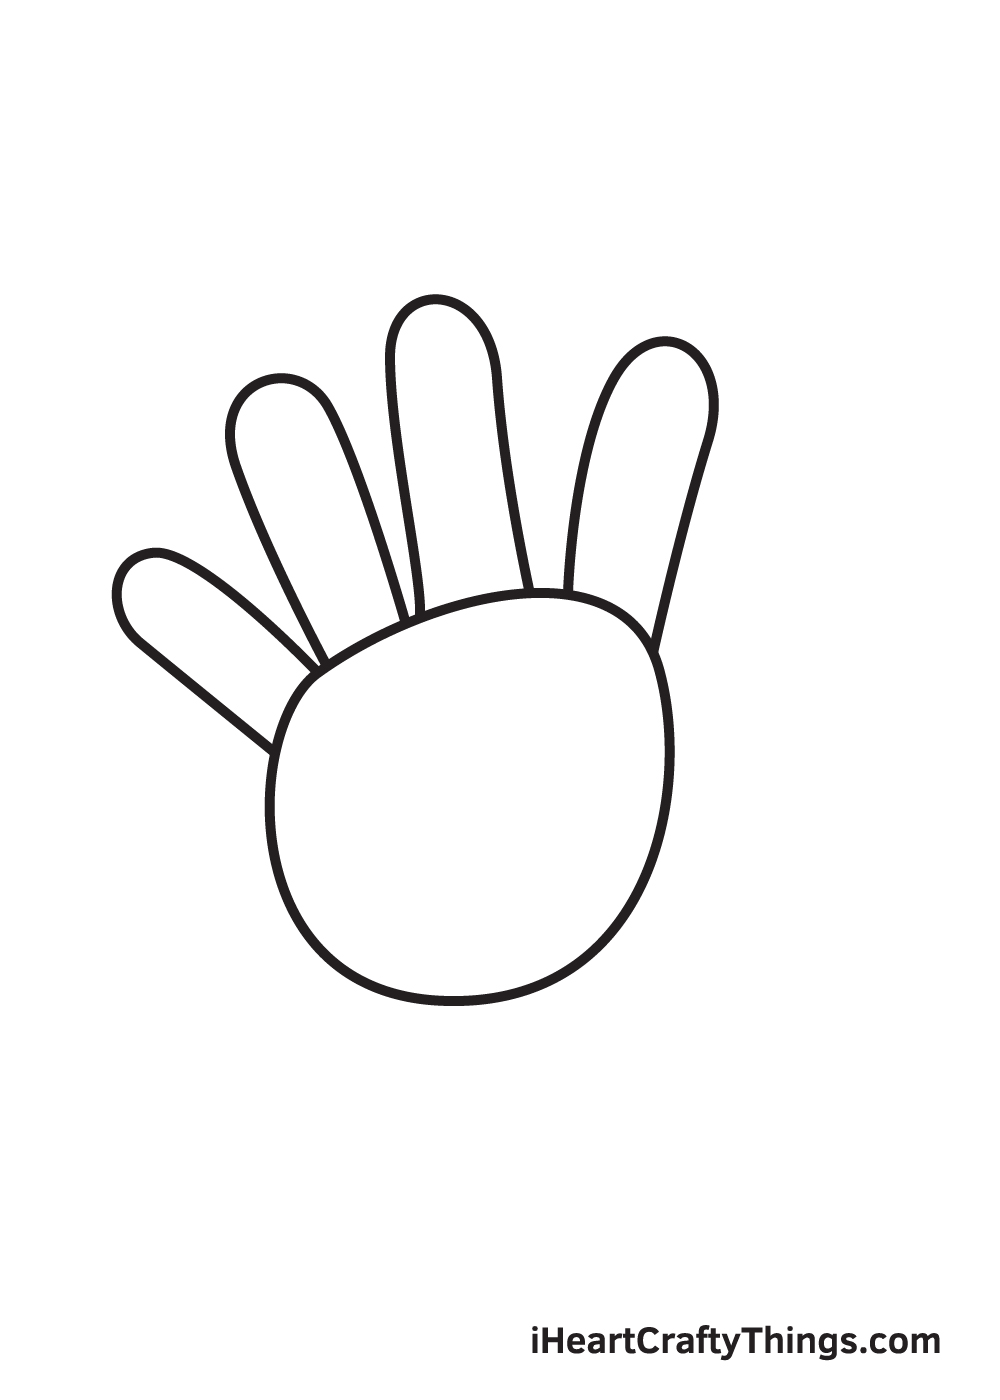
Draw another finger on the rightmost part at the top of the palm. This forms the index finger of the hand. Conduct in mind that the index finger should be equally tall as the ring finger.
At this signal, all iv fingers direct above the palm should exist complete. Now, all it's missing is the thumb, which we'll be drawing on the side by side step.
Pace 6 — Afterwards, Draw the Pollex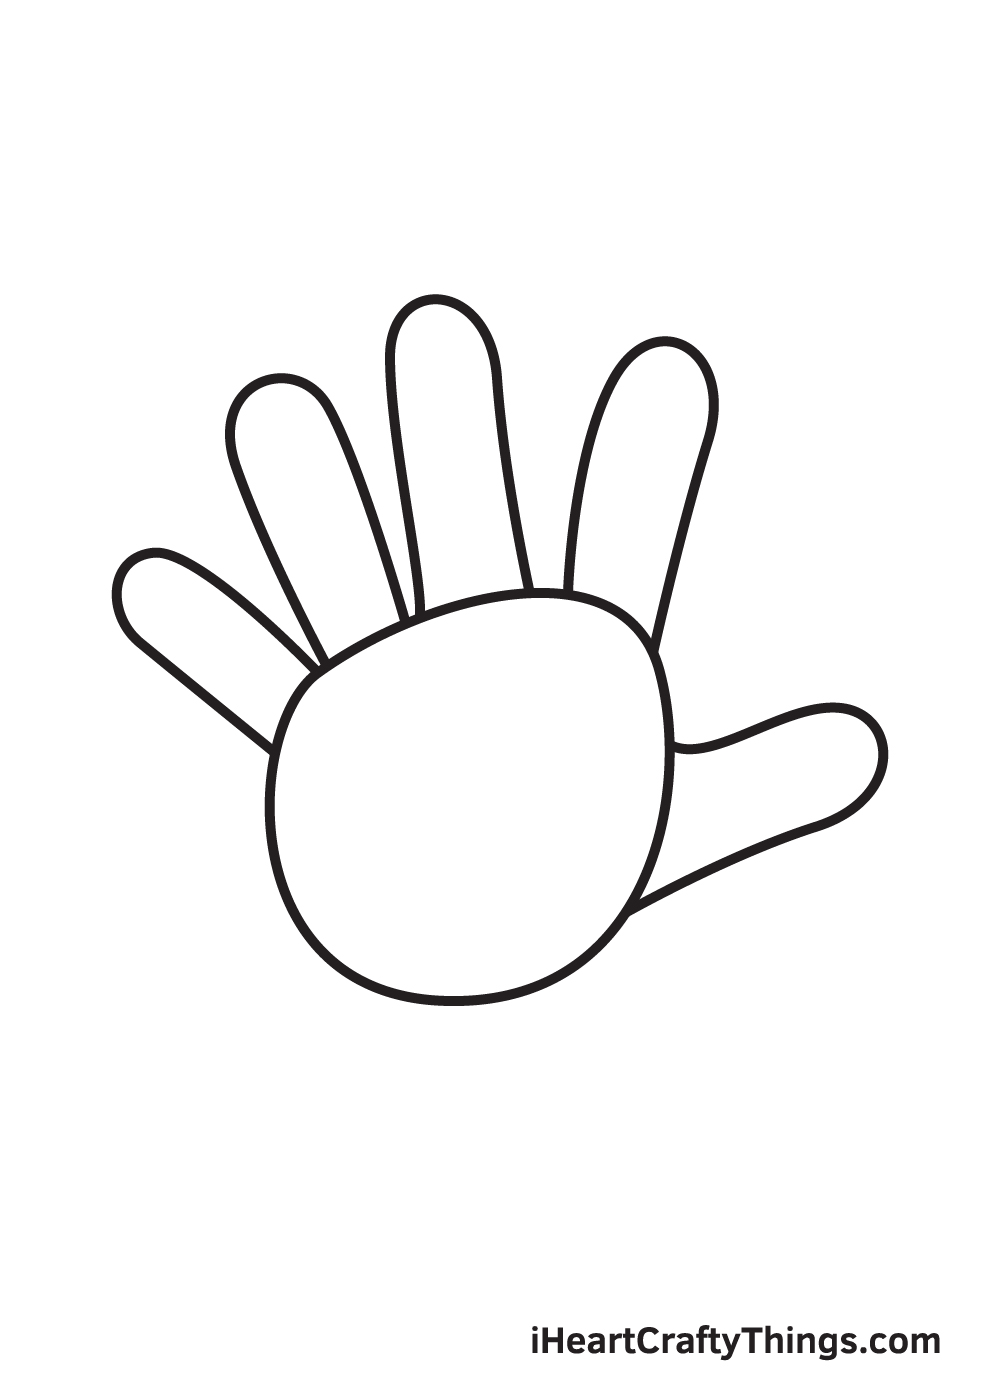
Finalize the manus by adding the thumb affixed on the right side border of the palm. The thumb should have a bit wider form compared to the other four fingers.
At present, all five fingers on the mitt are consummate at concluding.
Pace 7 — Draw the Wrist of the Paw
Describe two short vertical lines right underneath the palm. This forms the wrist, which is the part of the trunk that connects the hand with the arm.
The gap in between the lines should be how wide y'all want the wrist to exist—the bigger the gap, the wider the wrist.
Footstep 8 — Add together Lines on the Palm and the Fingers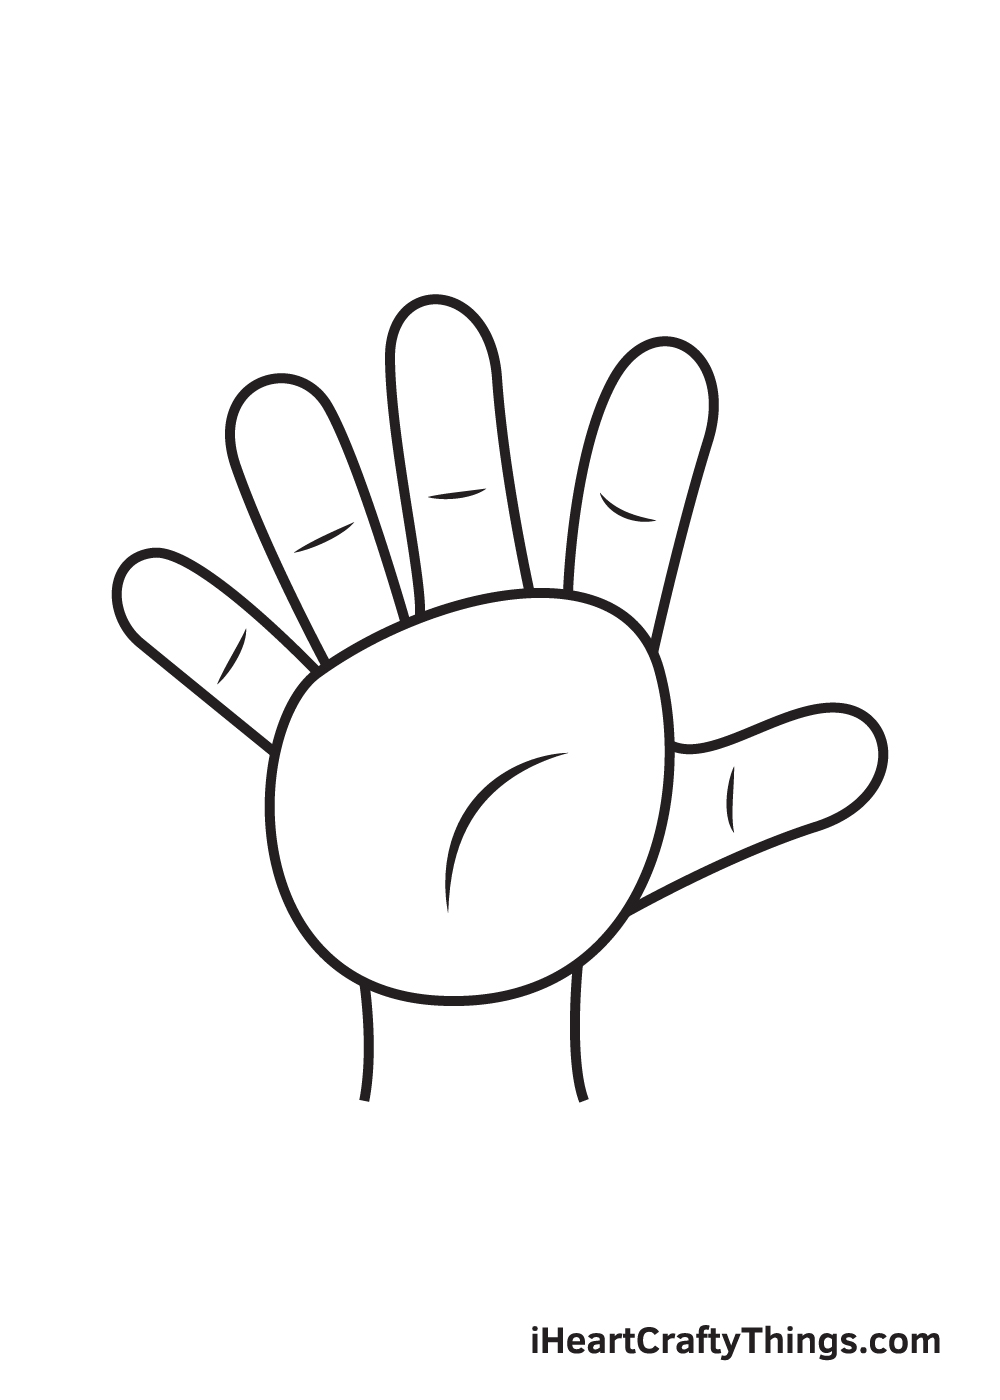
The hand typically has lines all over it, especially beyond the palm and on all five fingers. These lines are called palmar flexion creases, a distinctive physical characteristic that we develop fifty-fifty earlier nascency.
To create the lines, depict a few lines on the palm and one line for the joints on each finger. Make sure to keep these lines thin to brand information technology appear more natural.
Step 9 — At present, Refine the Hand Drawing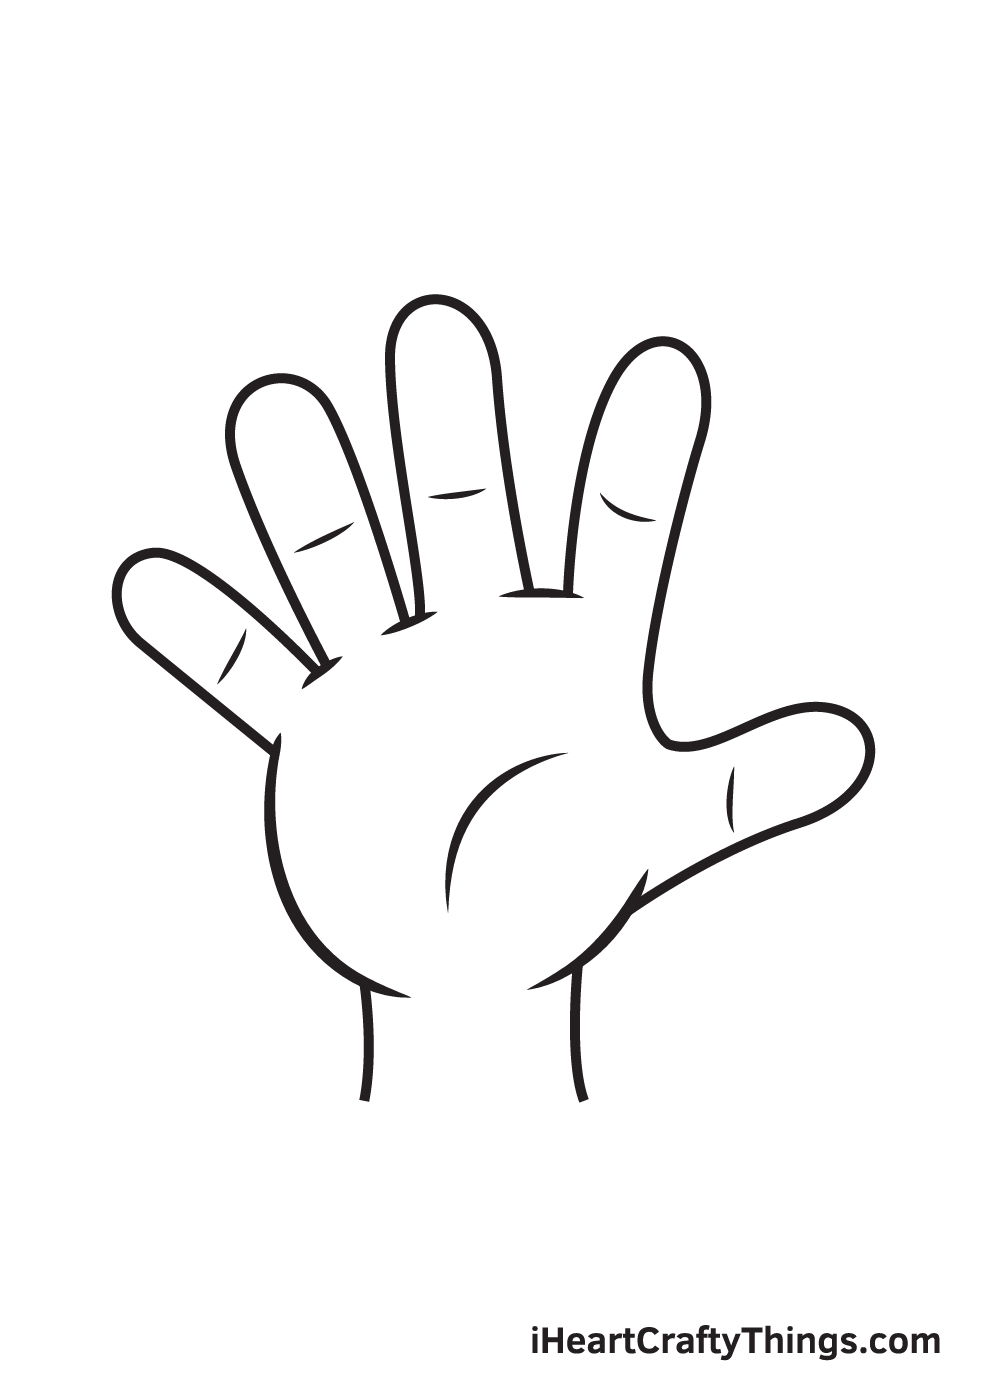
In this terminal step, nosotros volition exist polishing upwardly our hand drawing. Merely erase all the parts of the palm outline on each of the five fingers equally well as the wrist.
By getting rid of these lines, the fingers and the wrist would look like it's directly connected to the palm—as how it should really be!
Exist conscientious when erasing some lines from the outline. Yous don't want to accidentally erase any essential parts of the manus.
After successfully drawing a mitt, here'south the most awaited role—coloring fourth dimension! This is completely optional, simply we recommend coloring your drawing to make your artwork colorful.
This likewise makes your drawing experience a lot more fun!
As you can see in the illustration, we colored the manus using a customized pare tone colour. Creating a skin tone color is easy and unproblematic! Just mix the colors white, yellow, red, and blue.
Depending on the complexion you lot're trying to attain, you lot may need to add more than of a certain color.
Have fun playing with colors and watch as the hand ultimately comes to life!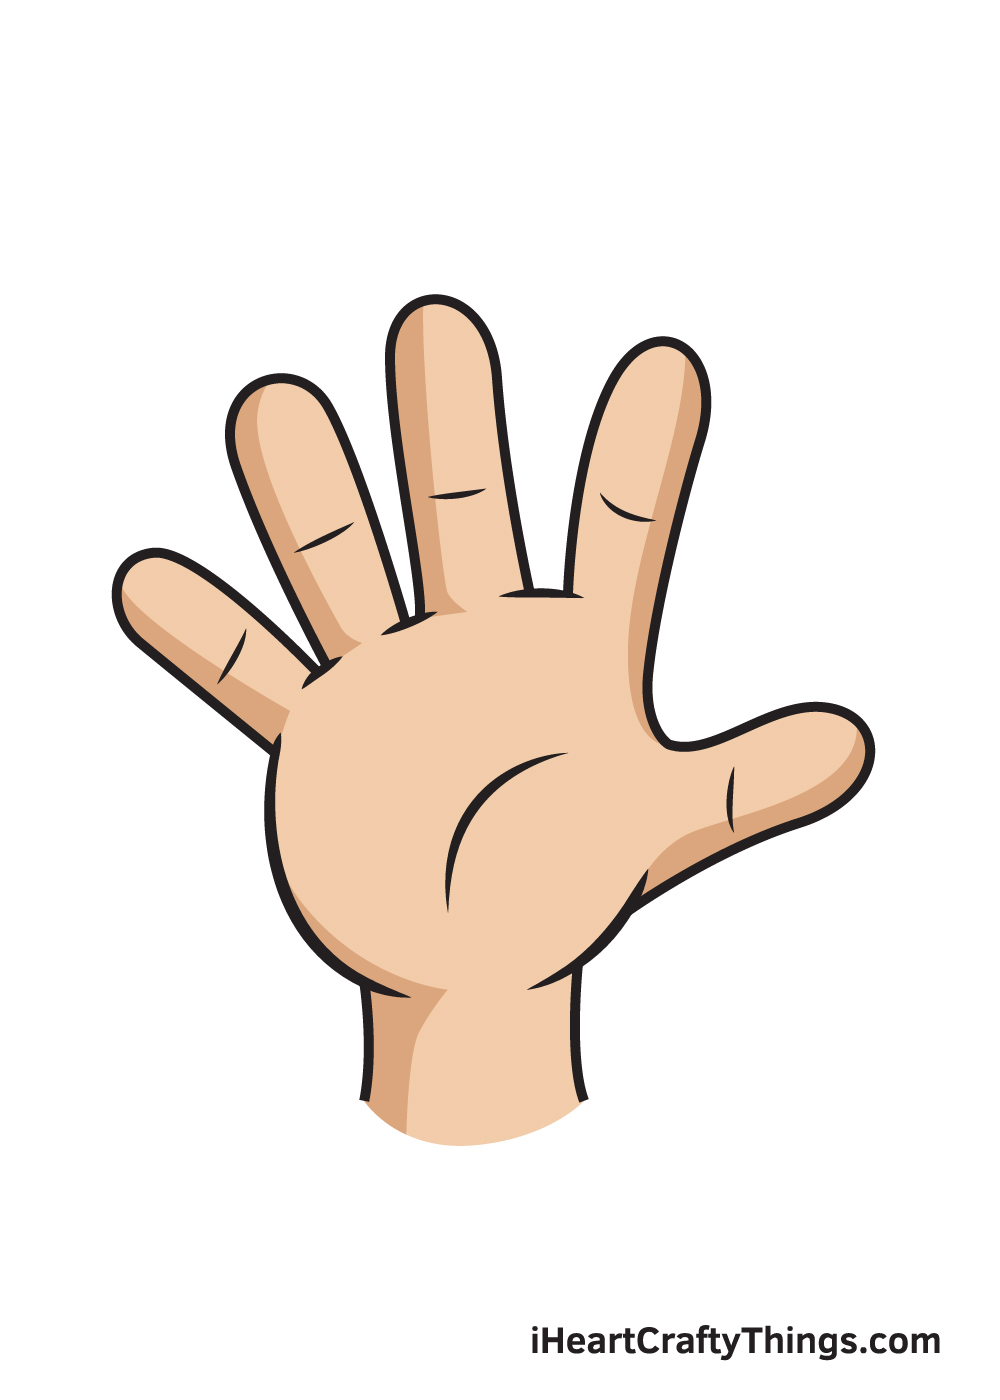
Your Hand Cartoon is Complete!
Hopefully, you had fun with this step-by-step hand drawing tutorial. At present that y'all're capable of drawing a hand, perchance you tin draw a character waving its mitt to say hello next?
Go ahead and cheque out our "How to Draw" catalog to explore many more enjoyable drawing tutorials similar this.
Don't forget to take a photo of your paw cartoon once you're done coloring it! Prove off your masterpiece past sharing it on our Facebook page and on Pinterest.
While y'all're at it, brand certain to like our Facebook folio too! Your back up keeps usa going in creating complimentary crafts, printables, and drawing tutorials for yous to relish!
We are excited to encounter your realistic hand drawing!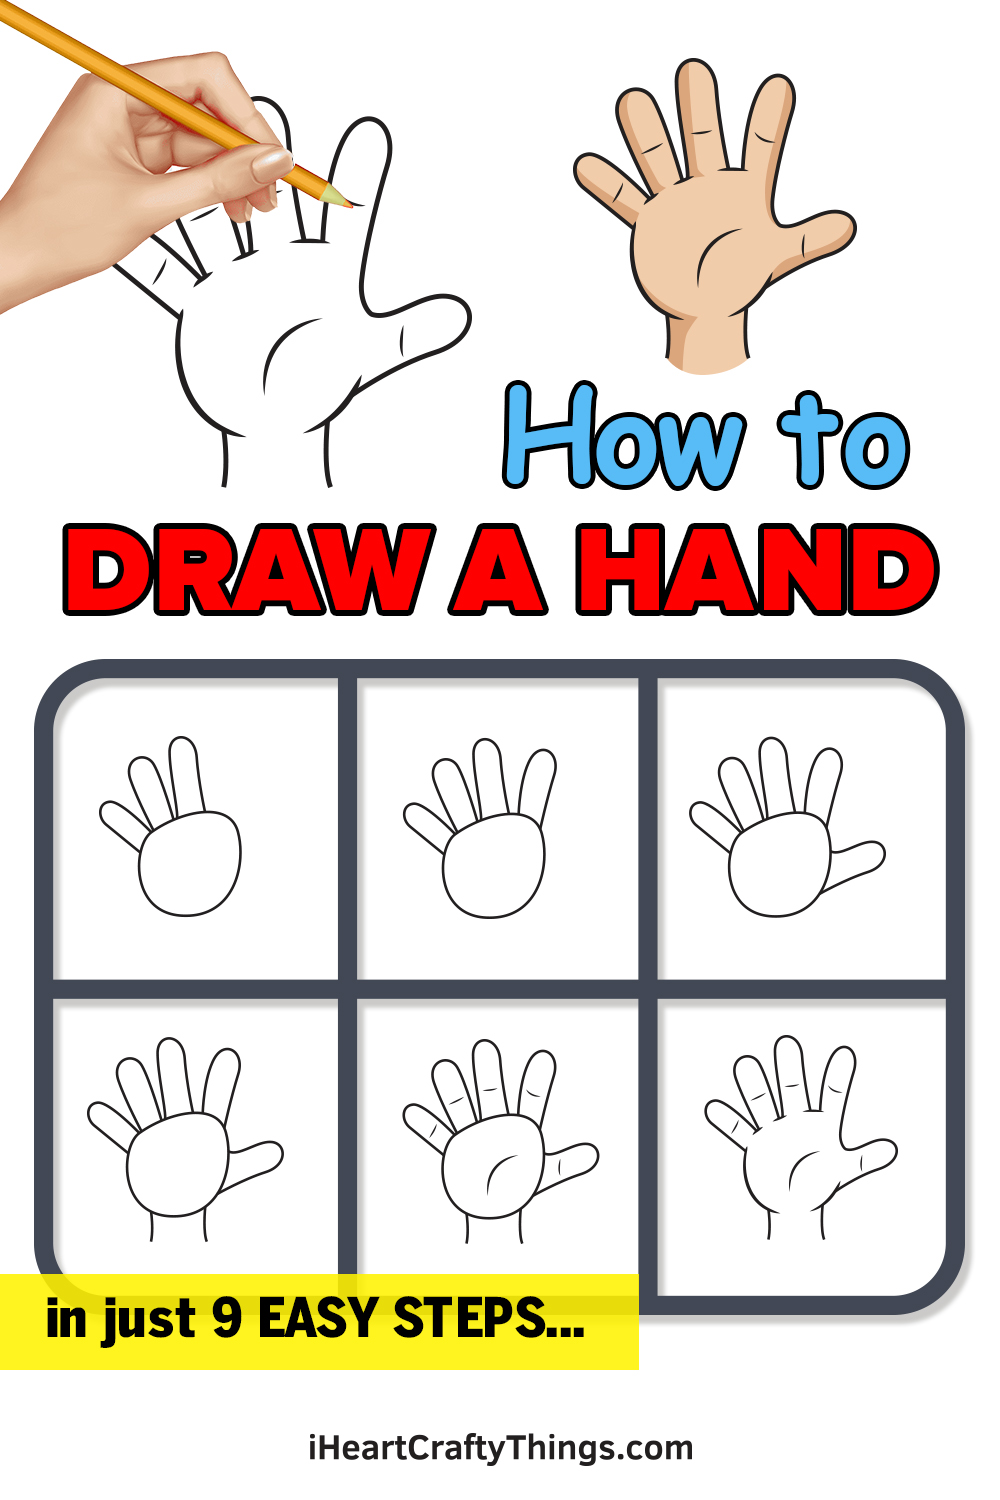

Source: https://iheartcraftythings.com/hand-drawing-2.html
Posted by: robbfarome.blogspot.com
0 Response to "how to draw a middle finger"
Post a Comment